The W Pond is an old school exclusive item and while it may be retired, there’s no reason you can’t make your own! Check out this awesome craft submitted by @Zemi_Noelle_Art. Congrats Zemi, and enjoy your Crafty Critterz Trophy!
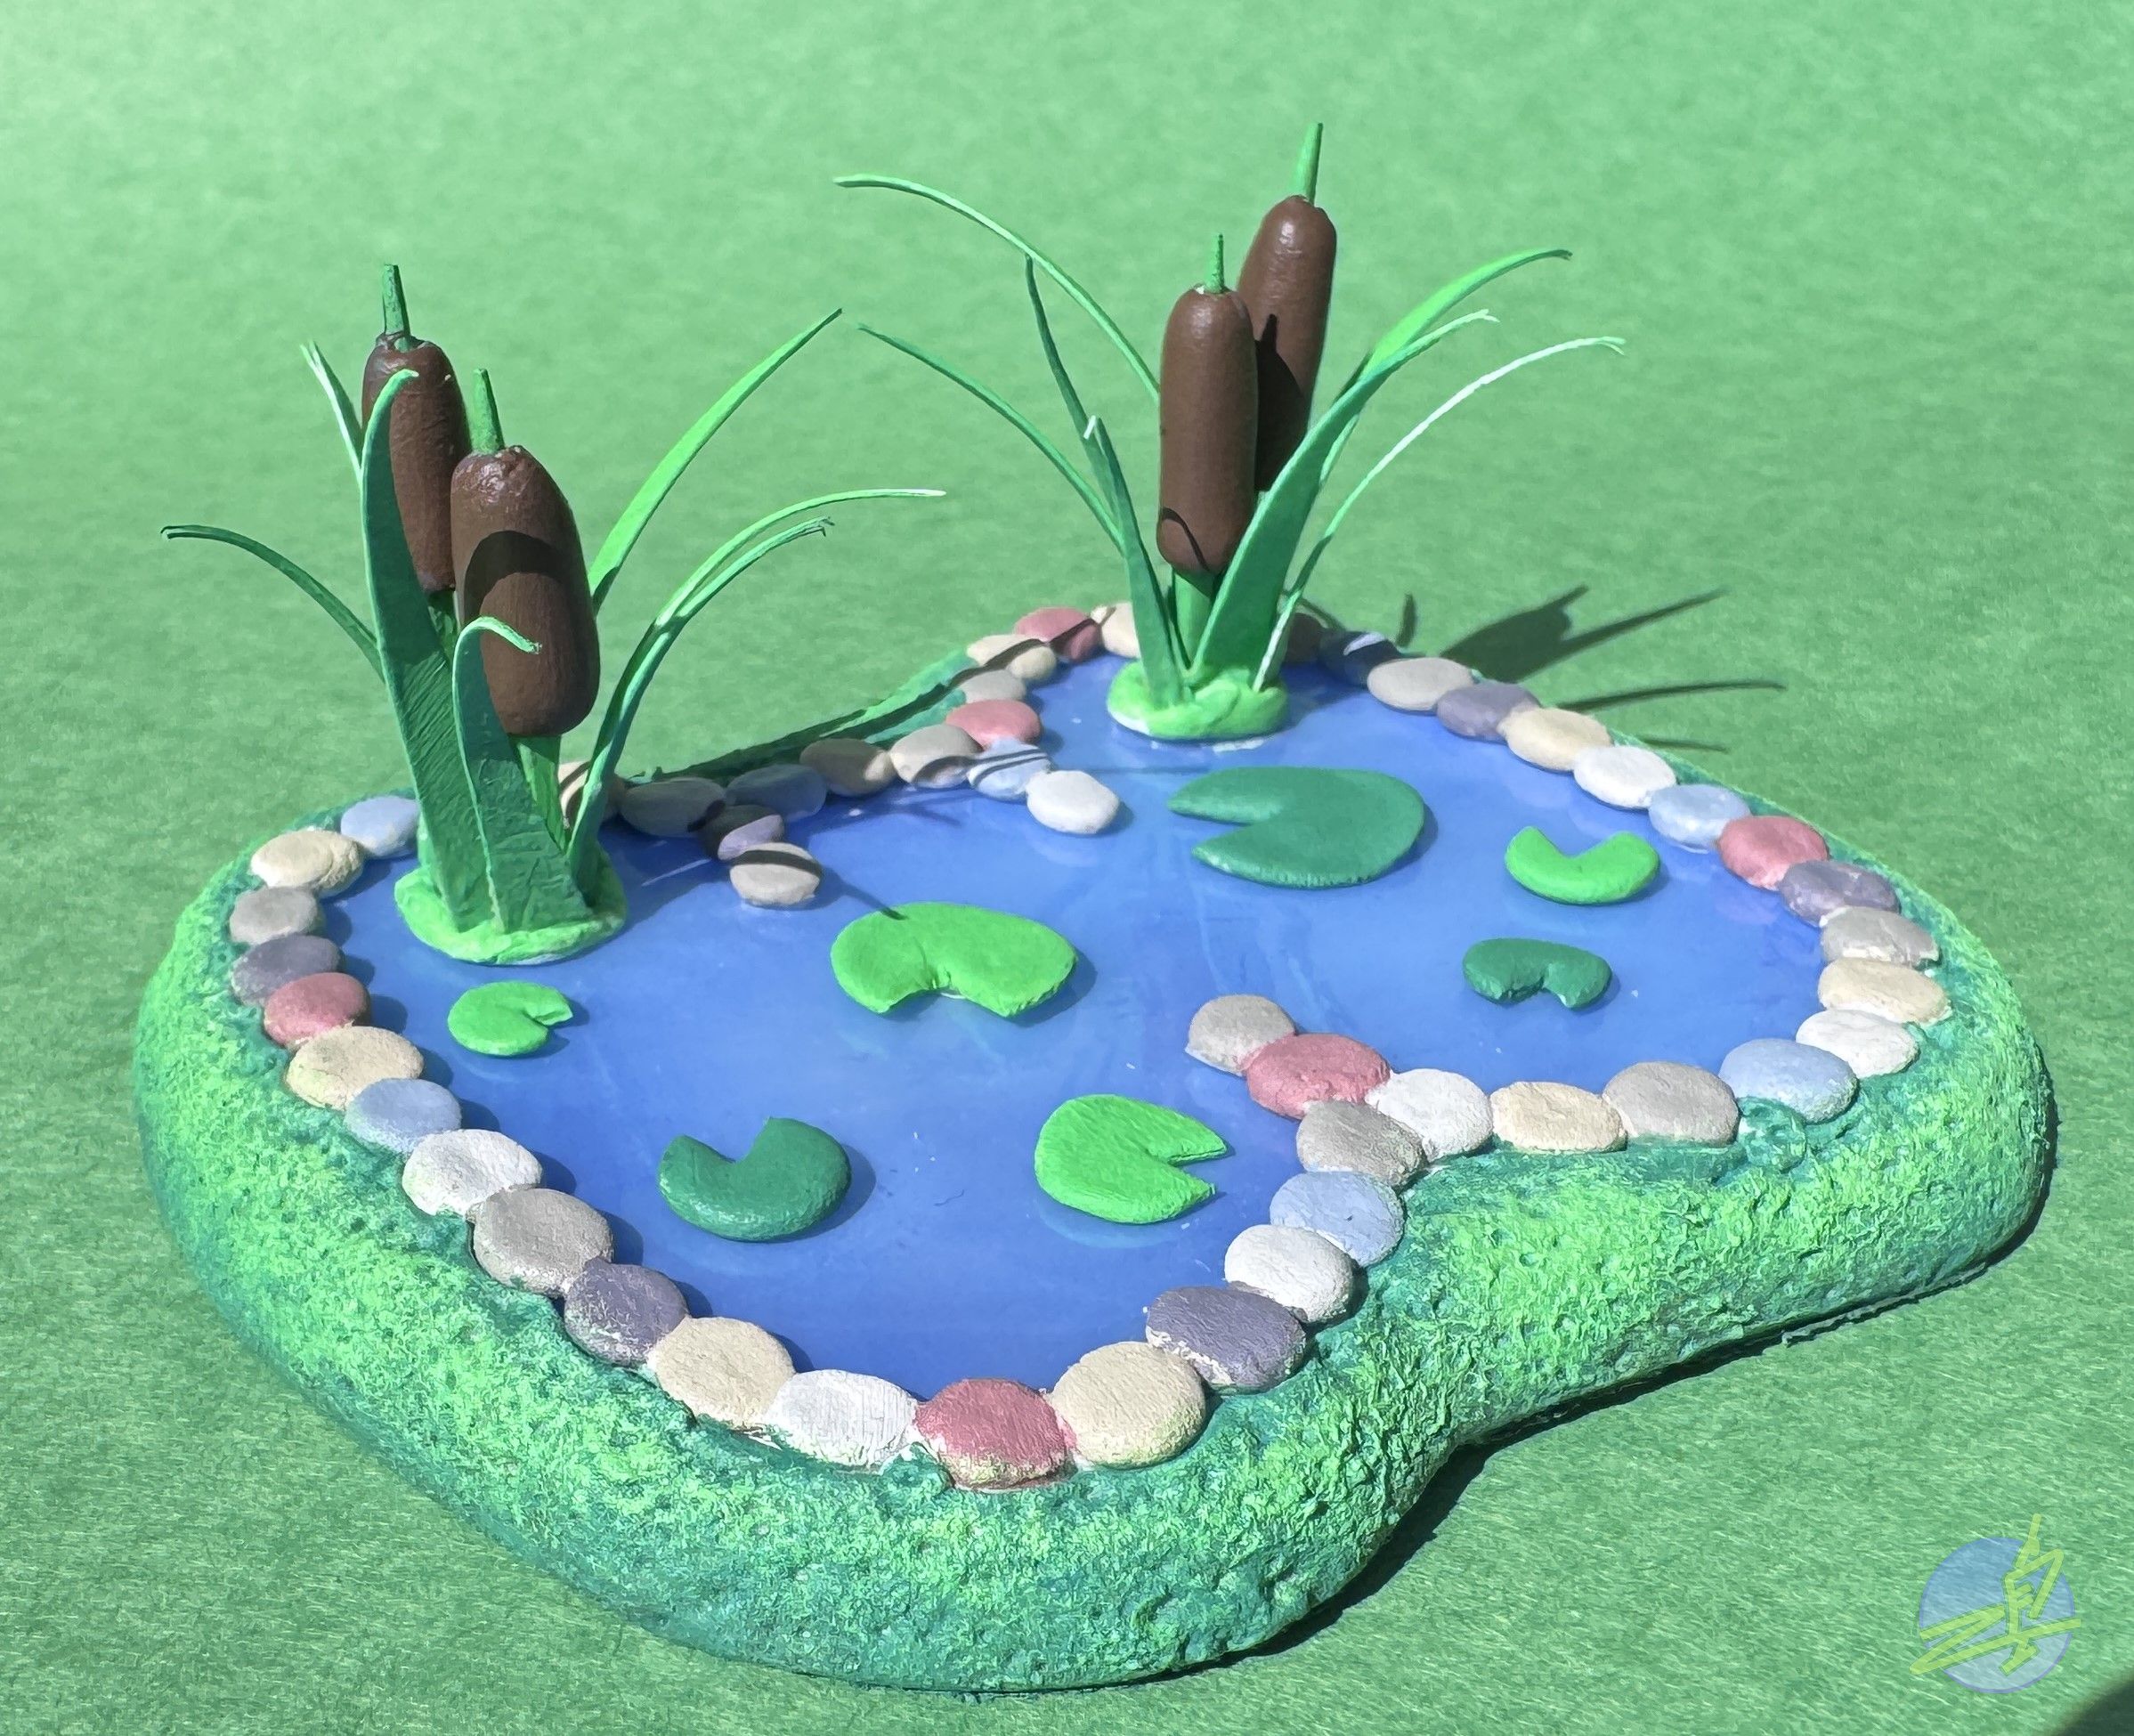
What you need:
- Acrylic paint
- Paintbrushes, and a way to clean them (paper towels, a cup of water, etc.)
- EVA Foam clay
- Recycled flat plastic sheet (thicker than plastic wrap but thinner than an acrylic sheet; you can
use part of some packaging.) - Watercolor paper/cardstock
- 2 toothpicks
- Chalk pastel or eyeshadow
- High-gloss varnish
- Water
- A dust mask
- Scissors or craft knife
- 1000 grit sandpaper
Base Pond
- Draw a stencil from two different round bases to make a bubble-shaped ‘W’. I used makeup packaging and a bottle cap on a sticky note. Mark where you want to place the lily pads and cattails. Don’t forget to look at your reference!
- Cut the stencil out and tape it to a piece of thick plastic that can be cut with scissors or a craft knife, I used some old packaging. This will be your ‘water’.
- Trace the stencil onto the plastic with a blue marker (this will make it easier to hide the stencil lines later because it’s the same color as the pond water!)
- Put on a dust safe mask and use a fine grit sandpaper and water to give the plastic a frosty finish so that powder pigment will adhere to it. (The water will keep the sanded plastic from being airborne.) I used 1000 grit sandpaper for a smooth finish.
- Use either eyeshadow or chalk pastels in a light shade of blue to color the pond water. (You can also use glitter or makeup highlighter to make it sparkly!)
- Add layers of high gloss varnish to the sanded side of the plastic to give it a watery smooth texture. (I recommend at least 6 layers, make sure each layer dries first before adding the next!)
- Take the W shaped stencil you made earlier and cut out a piece of watercolor paper, color it pastel blue. This is the base of the pond.
- Add foam clay ‘spacing bumpers’ to the paper base. (around 1cm tall) Evenly space them so that it can hold up the plastic level. Let the clay dry.
- Make a thin clay ribbon and wrap it around the edges of the pond, making sure to seal the clay around the top and bottom so that there are no holes. Make sure the clay doesn’t overlap on top of the plastic ‘water’. You can use real water to smooth out the clay.
- Tape the pond stencil to the underside of something see-through. (I used a CD jewel case) This will make it easy to sculpt the pebbles.
- Roll tiny clay balls and flatten them, put them on the see-through material over the stencil’s edge to make the pond border. Make sure the pebbles touch so they will dry into one piece. Let it dry. Keep the border on the clear surface so it can be painted easily.
- Paint the pebbles in various colors. I used 6 desaturated pastel colors including blue, purple, coral, yellow, and a warm and cool gray.
- Once dry, carefully remove the pebble ‘W’ from the surface you sculpted and painted it on. Carefully place it on top of the plastic pond water and line it up properly. Glue the pebbles onto the edge of the pond ‘water’.
- Sculpt a rounded border of clay around the pond. Make sure to sculpt the clay into the crevices around the pebbles on the outside of the pond. This will be the grass!
- Add texture to the clay grass with a toothbrush, rough paintbrush, or other tools like a pencil.
- Paint the clay green, and when dry, add a lighter shade of green on top to give it depth. Be careful to not get paint on the pebbles! If you do, there’s no worry, you can repaint the pebbles afterward. The base of your pond is done! Now on to the plants.
Plants
- Make 7 foam clay balls of various sizes. flatten and cut one ‘pizza slice’ out of each of them. Let dry and paint them two different shades of green. These will be your lily pads!
- Paint the front and back of a small section of watercolor paper green. cut the paper into many pointy strips. Once cut out, paint the sides of them and once dry, lightly bend them into curved shapes. Cut the bottoms so they are all mostly the same height. These are your cattail leaf reeds!
- Cut two toothpicks in half. Sculpt 4 ‘hot dog’ shapes with foam clay and put them on the pointed sides of the toothpicks, making sure the points are visible on the top. Paint the toothpicks green and the clay parts brown, and you have cattail reeds!
- Make 2 foam balls and put them on a surface you can move around, put 2 cattail reeds into the middle of each clay lump and surround those with your green paper leaves. Reinforce with superglue and let dry. Paint the clay base green. The cat-tails are done!
- Refer to your stencil where you marked where you want the lily pads and cattails to be, and glue them onto the pond surface accordingly.
- Your W Pond is complete!
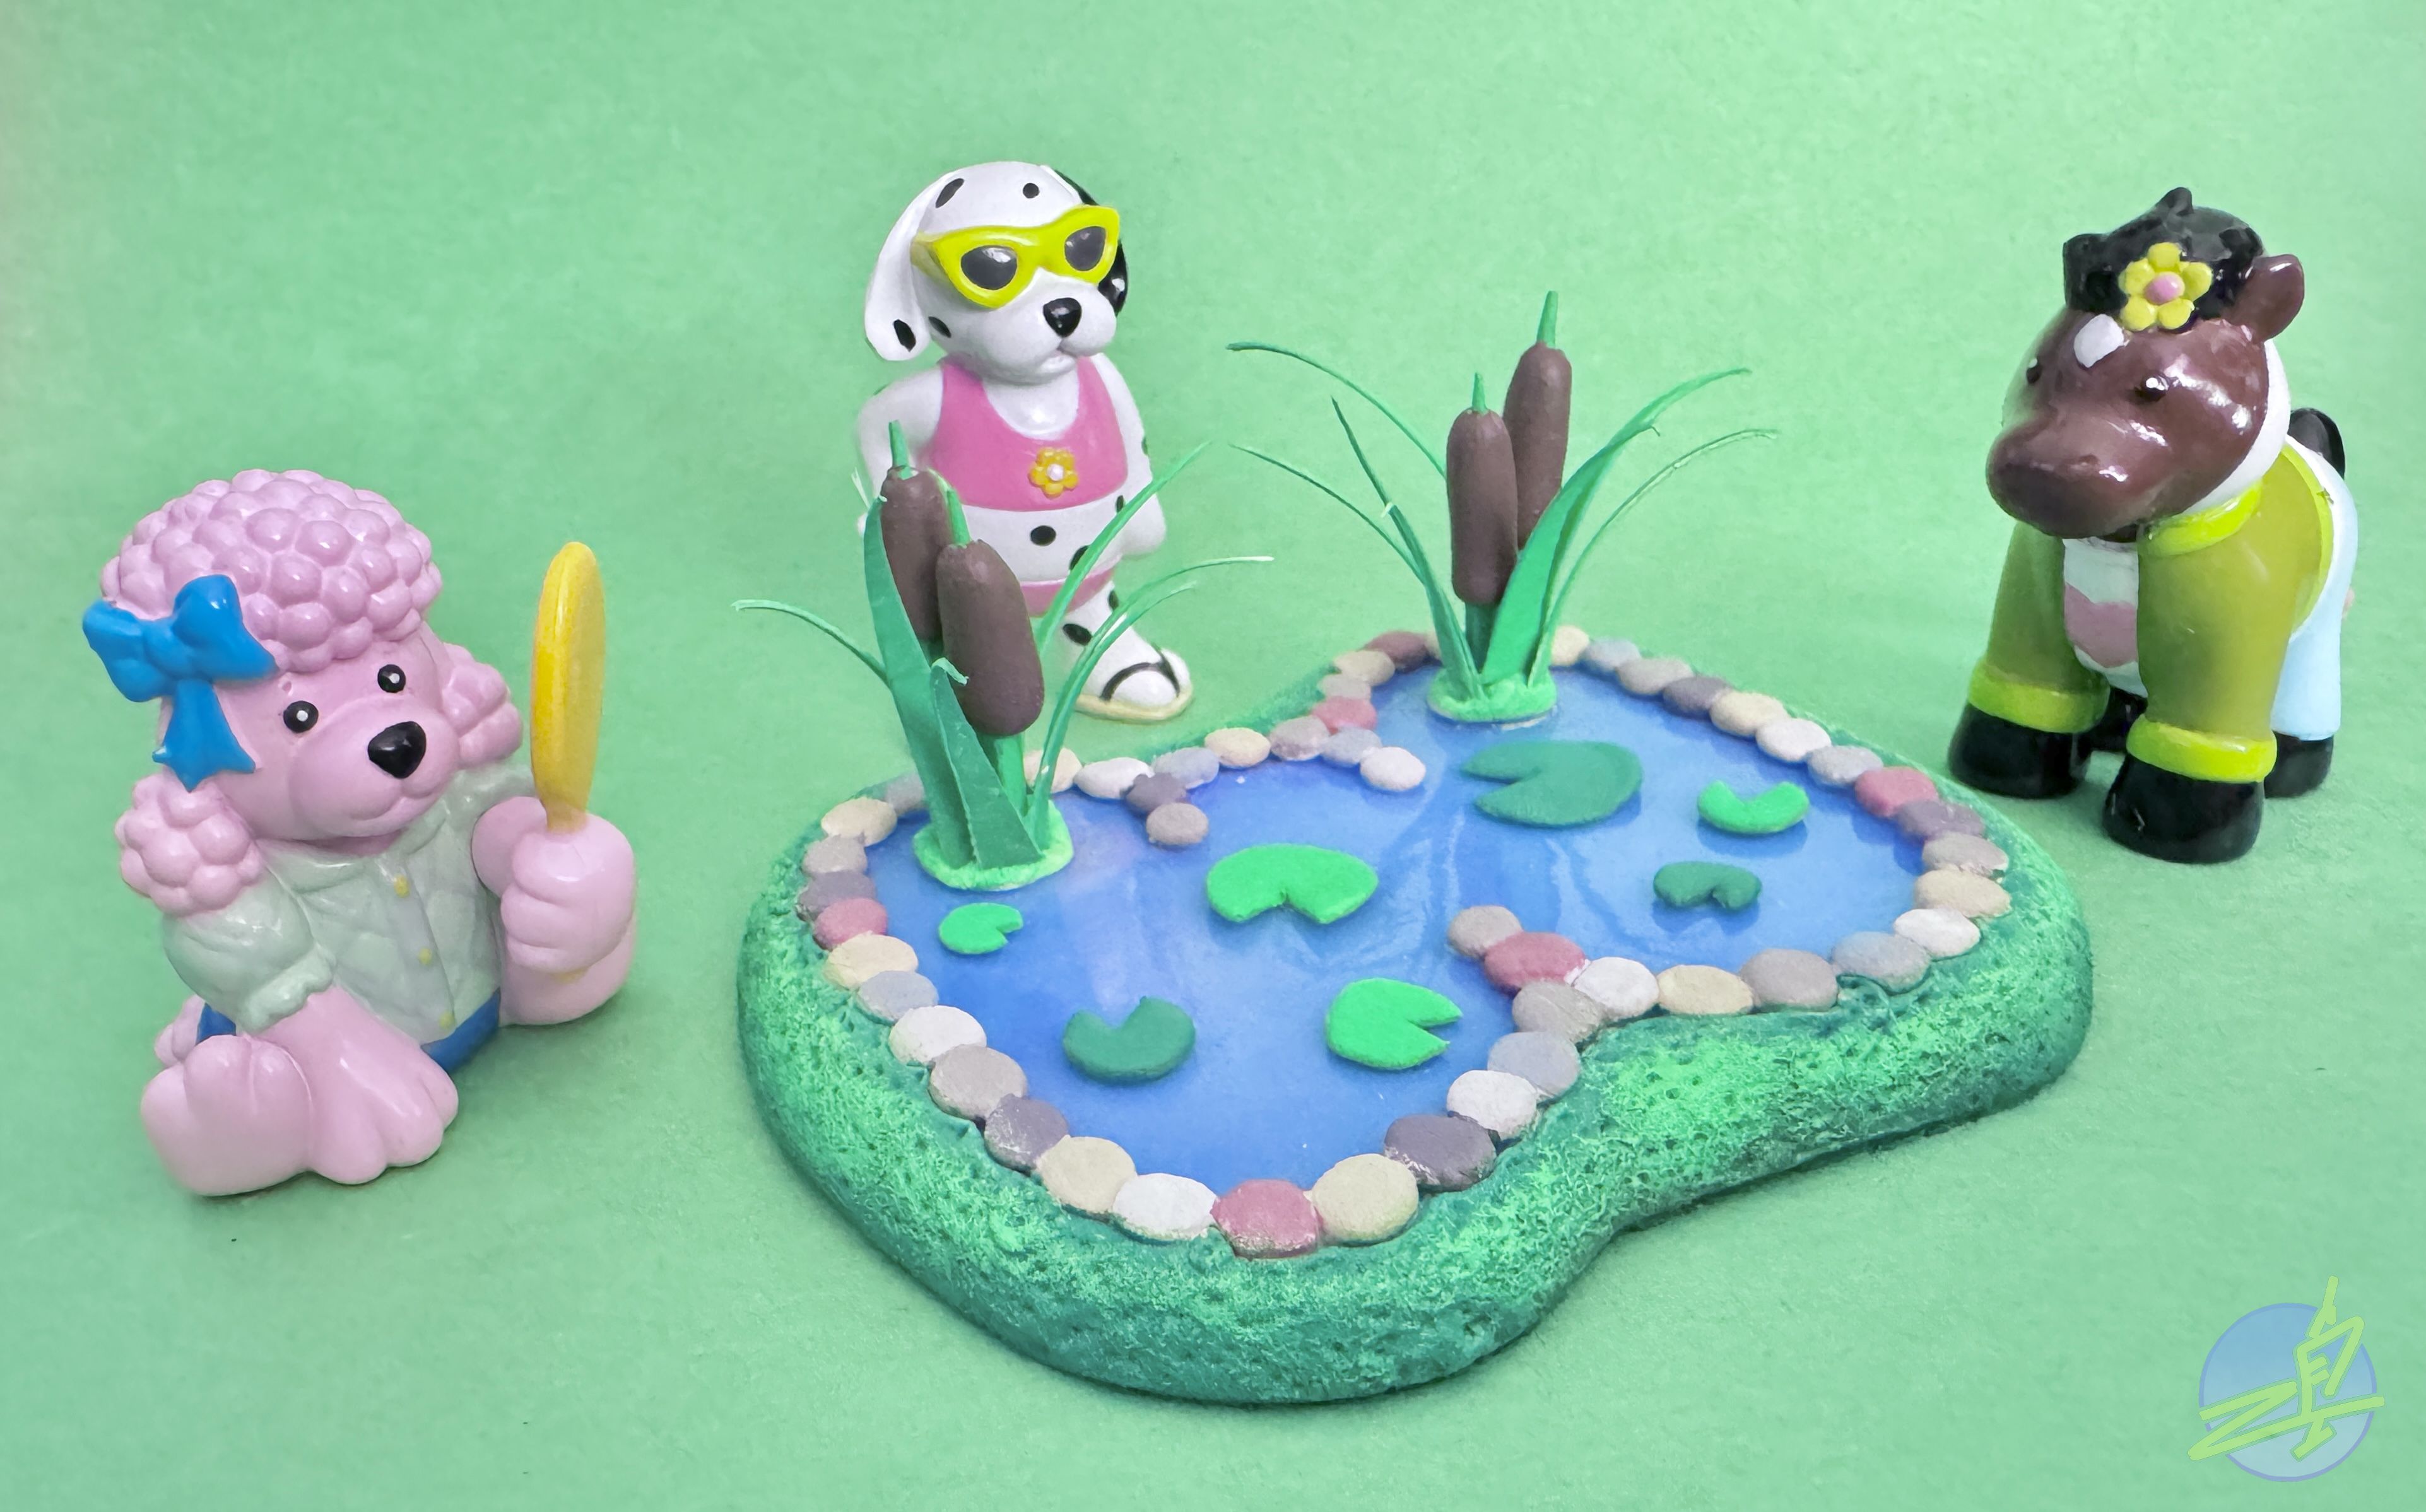
 This pond is perfect for a Webkinz figure diorama! Do you have a great idea for a craft, recipe or party game? We’d love to hear them!






This is so cute! Great job!!!
CRAFTY CRITTERZ COMEBACK?!?!?!
This brings back such memories.
What an amazingly well-planned, and well-crafted project! I don’t fully understand the steps with making the realistic-looking water, but it seems to have been well worth the effort as it looks amazing! Congrats on the feature @Zemi_Noelle_Art!
Love it!
That’s adorable I should definitely try that
Kraft Kimmy is BACK!! Oh How I have missed you!! I used to come and visit as much as I could because I loved your activities! Please tell me you are here to stay??
The pond looks so good that i thought it was some type of 3d rendering for Webkinz next!
Wow, this is so cute! Glad they’re bringing this series back!